FTP Server Installation Guide for Ubuntu Linux
Mastering FTP on Ubuntu: Install vsftpd with ease and secure file transfers. Plus, a guide to creating users and unleashing the power of FileZilla for seamless file management!
Install FTP Server
Setting up an FTP server on your Ubuntu server to grant access to the /var/www/yourdomain.com directory is a smart move, especially when dealing with file transfers. The go-to choice for this task is vsftpd, short for Very Secure FTP Daemon.
Now, let's break down the steps to get your FTP server up and running smoothly. First things first, you'll want to install vsftpd using your terminal, then proceed to configure the necessary settings in the vsftpd.conf file.
# Accessing the server
ssh user@your_server_ip

# Install vsftpd
sudo apt update
sudo apt install vsftpd

# Configure vsftpd
sudo nano /etc/vsftpd.conf
Uncomment or add the following lines:
write_enable=YES
local_umask=022
chroot_local_user=YES
allow_writeable_chroot=YES
Add the following lines at the end to restrict users to the desired directory:
user_sub_token=$USER
local_root=/var/www/$USER
Create an FTP user
Creating an FTP user is a crucial step in customizing your server, ensuring secure and tailored access to specific directories. Let's delve into the nitty-gritty of this process.
Begin by replacing the generic placeholder yourdomain.com with the actual FTP username you desire. The command sudo adduser --force-badname yourdomain.com works its magic, initiating the user creation process.
As you run this command, you'll be prompted to set a new password for the user. The system will prompt you to enter additional information, such as Full Name, Room Number, Work Phone, and Home Phone. Feel free to input the relevant details or hit Enter to stick with the defaults.
# Create the user
sudo adduser --force-badname yourdomain.com

# New password:
# Retype new password:
# passwd: password updated successfully
# Changing the user information for yourdomain.com
# Enter the new value, or press ENTER for the default
#         Full Name []:
#         Room Number []:
#         Work Phone []:
#         Home Phone []:
#         Other []:
# Is the information correct? [Y/n] y
Now comes the crucial part – setting ownership for the FTP directory. The command 'sudo chown -R yourdomain.com:yourdomain.com /var/www/yourdomain.com' ensures that the newly created user has the reins over the specified directory. This step is vital for smooth and secure file operations within the FTP space.
To seal the deal and make your changes take effect, restart the vsftpd service with sudo service vsftpd restart. This step ensures that the adjustments made to user privileges and directory ownership are applied promptly.
# Set ownership for the FTP directory
sudo chown -R yourdomain.com:yourdomain.com /var/www/yourdomain.com

# Restart vsftpd for the changes to take effect
sudo service vsftpd restart
By following these meticulous steps, you not only create an FTP user but also personalize their experience, setting the stage for efficient and secure file transfers within your Ubuntu server. It's like crafting a key for a specific room – only the designated user gets access, keeping your server's integrity intact.
FTP Client
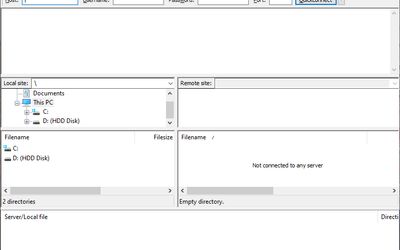
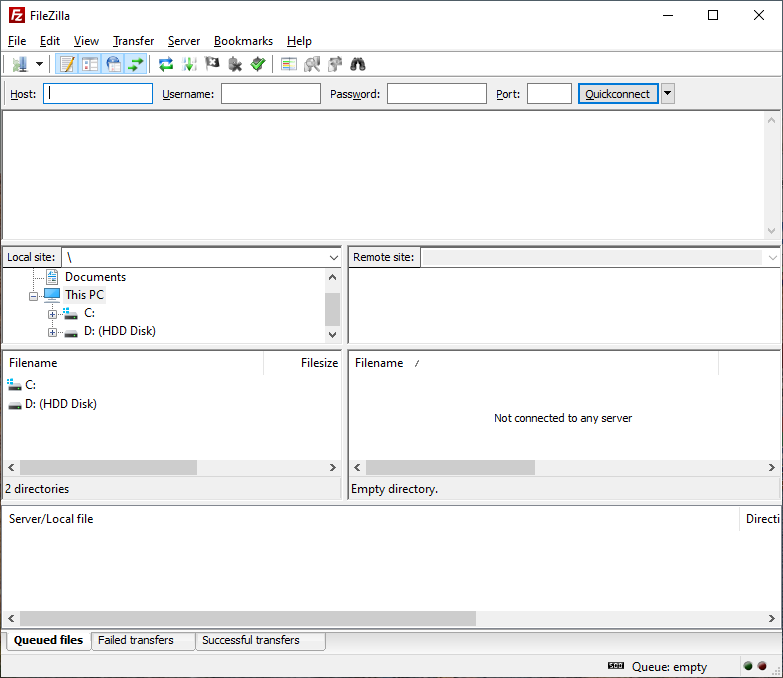
FileZilla is my go-to program for seamlessly transferring files from my local computer to the server. The beauty of FileZilla lies in its user-friendly interface, presenting a split-screen view. On the left side, I see the folders and files on my local machine, while the right side displays the directories on the remote server.
What makes FileZilla stand out is the simplicity of dragging and dropping. I can effortlessly move files from my computer to the server's folder or vice versa. This visual representation in the split-screen setup makes file organization a breeze. It's like arranging digital files on shelves, and FileZilla gives me the perfect toolset.
Moreover, FileZilla ensures a secure journey for my files. It supports various security protocols like FTP, SFTP, and FTPS, acting as a reliable guardian during the transfer process. It's not just a file transfer tool; it's a security-savvy companion.
Adding a new site in FileZilla is a breeze, and here's the lowdown on how to do it. First off, head to the "File" menu and click on "Site Manager." Once you're there, hit the "New Site" button to start setting up your fresh connection.
Now, it's time to get down to the details. Give your new site a name that makes sense to you – something like "MyServer" or whatever floats your boat. After that, you'll need to specify the host (that's the server's address) and choose the type of protocol (usually FTP or SFTP).
Here's a crucial tip: When you're setting up the login credentials, type the password manually instead of copying and pasting it. It might sound old-school, but it's a smart move. This way, you avoid any sneaky hidden characters that might tag along with a copy-paste, ensuring a smooth login process.
Once you've got all the info plugged in, hit "Connect" and watch the magic happen. FileZilla will remember these details, so the next time you want to visit your site, it's just a click away.
Conclusion
Hey, so wrapping up the article – setting up an FTP server on Ubuntu is a game-changer for smooth file transfers. Vsftpd is your go-to guy for this, and I've broken down the steps for you. Plus, creating a personalized FTP user and diving into FileZilla's split-screen magic makes file management a breeze. It's like handing you the keys to a well-organized digital kingdom. Give it a go, and your file transfers will thank you later!
References
Related Articles